“This post may contain affiliate links. Please read my disclosure for more info.
10 DIY Tips to Prepare Your Home for Winter
previous post
“This post may contain affiliate links. Please read my disclosure for more info.
Autumn is a welcome change from the heat of the summer, and it’s the perfect time to prepare your home for winter.
Before temps dip into freezing territory, you’ll want to use this home maintenance checklist to winterize your home.

Our furnace died during January a few years ago, and if I had made the effort to have it checked in the Fall, we may have been able to avoid seeing our breath for several days.
Most of what you’ll do to prepare your home for winter can be accomplished without calling an expert. But if you do find something beyond your abilities, you’ll have time to get the best deal rather than have to scramble.
And it’ll be a lot nicer to kick up your feet with a blanket on a cold, stormy day knowing your investment is protected.
Table of Contents

Each Fall and Spring, check carbon monoxide detectors and smoke alarms and put in fresh batteries. These are very important to have in working condition and can save lives in a house fire.
Your carbon monoxide detector can also detect a life-threatening problem with your furnace or water heater.
When you change the battery, be sure to hit the test button. Most detectors should have simple test directions inside the cover.
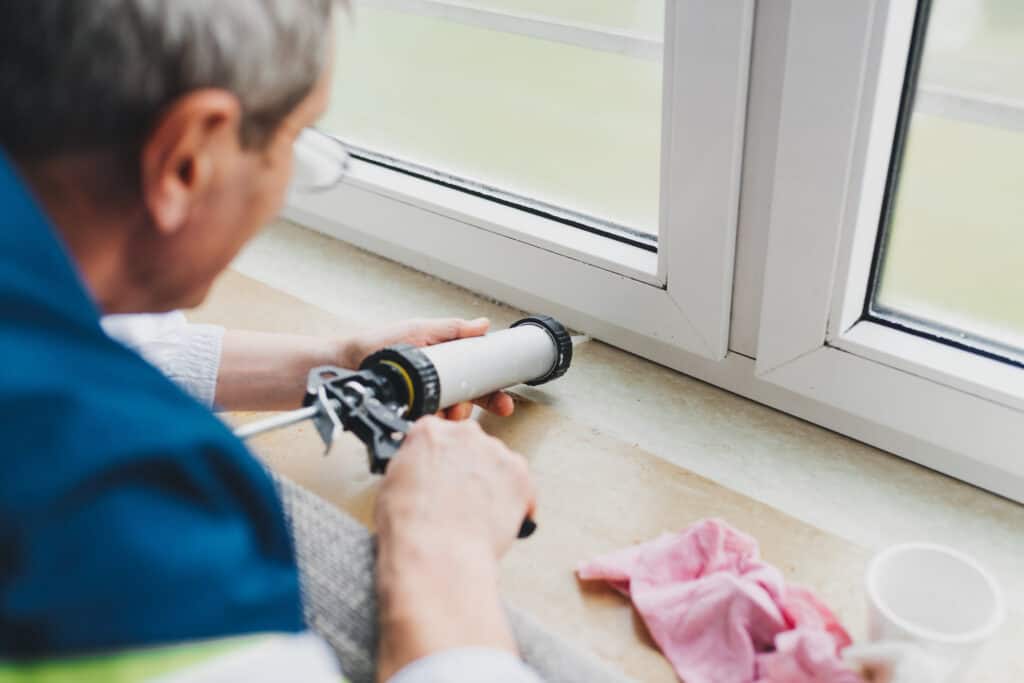
As the seasons change, variations in temperature, humidity and just normal wear and tear can cause window seals to shrink and crack.
So checking windows and doors both inside and out for leaks and drafts should be part of your winter preparation checklist.
Caulk cracks or install weather stripping around windows and doors, including the garage door. A tube of caulk and the dispenser should cost less than $10.
If they’re accessible, you can consider removing screens to save some wear and tear during the winter.
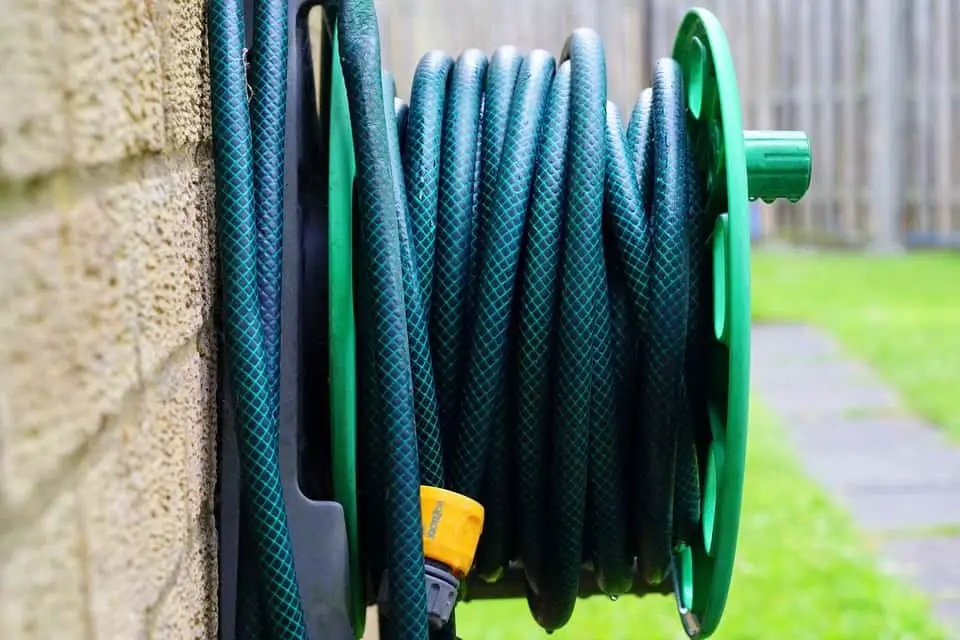
We learned this the hard way. When you leave your garden hose connected to the faucet all winter, the water remaining in the hose can freeze, expand back through the faucet, damaging it and the water pipe in your basement or crawlspace.
And on the first warm Spring day, as you water your plants you’ll wonder why the water pressure is low. It could be because it’s spraying through that burst pipe into your basement or crawlspace.
It just takes a minute to disconnect the hose, drain it and store it. It’s also a good idea to turn off any shutoff valves on water supply lines that lead to exterior faucets. This will guard against minor leaks that may let water enter the faucet. You can spot the shutoff valve by just tracing the pipe back from the outside faucet into your basement or crawlspace. Turn it clockwise to turn it off, then test it from outside.
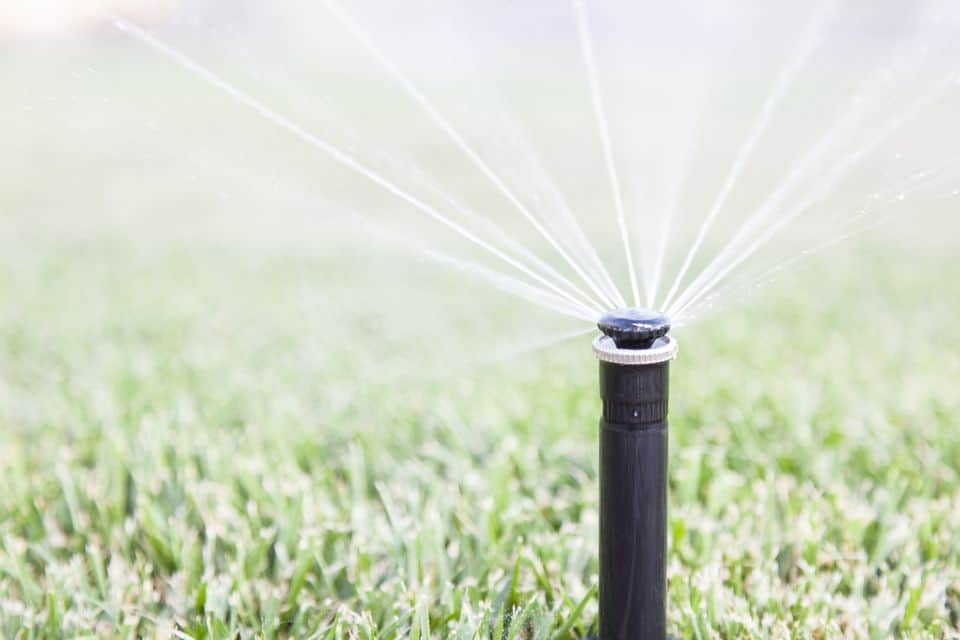
If you have a sprinkler system, it’s a good idea to drain that for the same reason. When the water freezes it can back into and damage the main valve, the buried lines, and the plastic heads.
If you own a compressor, you can do this yourself. Otherwise, a sprinkler company will probably do this for $75-$150,
Here’s how you’d do it with your own compressor:
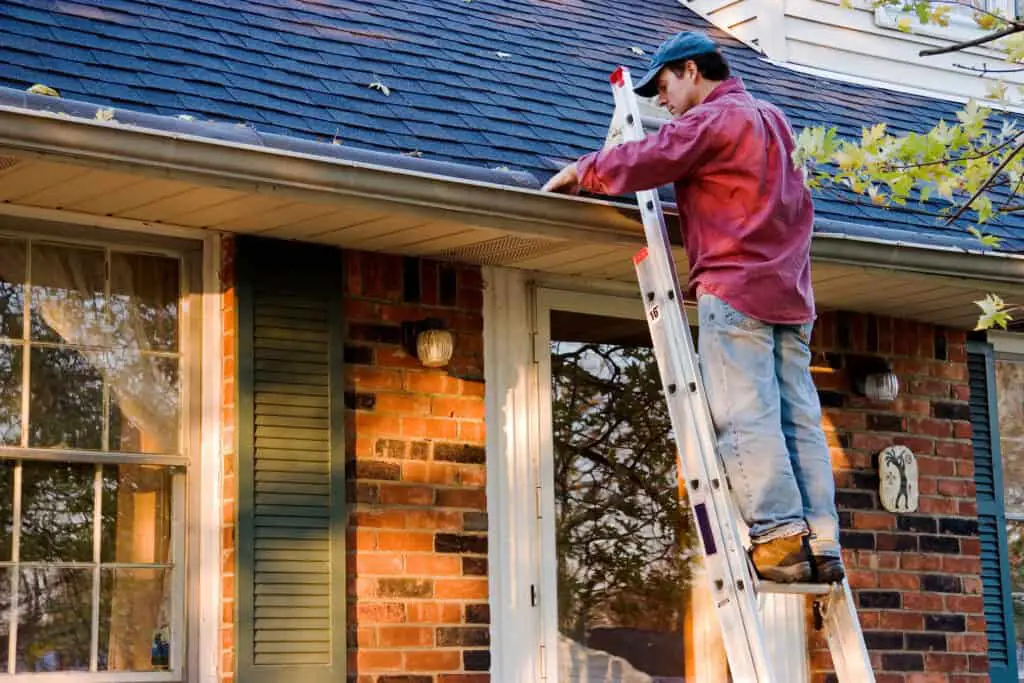
Clogged rain gutters can cause multiple problems. If you’ve ever noticed rain flowing right down your windows or the side of the house, it’s probably because the gutter above it is clogged.
Water will eventually seep into your siding, window frames, and even into your interior ceiling which can lead to expensive repairs.
And if sitting water freezes it can expand, damaging your roof. it’s a good idea to check for and remove leaves, twigs, and mud. Make sure gutters aren’t sagging and trapping water. One way to test them is to run a hose into it and see if the water drains through to the downspout near the ground.
Also, check to make sure your downspouts extend at least five feet away from your house to prevent foundation problems. If they don’t, you can buy a downspout extension for around $10.
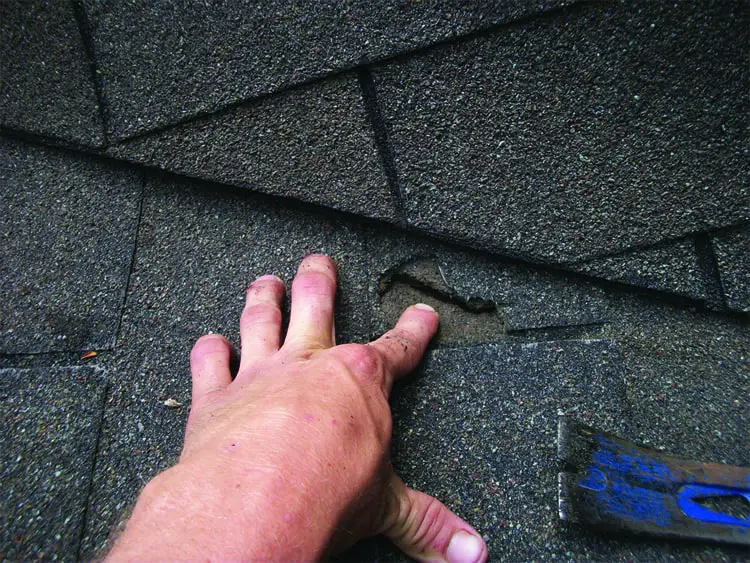
While you’re on the ladder, eyeball your roof. Check for shingles that are buckled, cracked, or missing. Or rust spots on flashing. Plumbing stacks should have a rubber boot at the base and that can wear out before your roof does.
Any loose or missing shingles should be replaced immediately. If you find multiple loose shingles laying in your yard that’s also a red flag. It could mean the seals between shingles are damaged causing shingles to break off in heavy wind.
Depending on what you find, and the pitch of your roof, you may want to call in a roofing pro to help.

Checking your furnace is one of the most important things you can do to prepare your house for winter weather. It’s the most expensive and the most critical appliance in your home.
It’s a good idea to have the internal parts checked as you prepare your home for winter, and again in the Spring.
Depending on your DIY skills you may be able to do this yourself. Here’s a great step by step guide by The Family Handyman.
If this looks beyond your skill level it’d be a good idea to call a heating and cooling professional. You’ll probably pay between $75-$150 for a checkup, and many companies will also offer an annual service contract.
One thing you can absolutely do yourself, is to replace the filter every other month or so. The filter on most furnaces is visible without removing any access panels.
The filter size should be printed along the edge. Ours here, is 20×20. Just look for the same type at your local hardware store or even Target. They slide right in using no tools.


To ensure your fireplace is safe for the winter, shine a flashlight up inside while you operate the flue to make sure the damper opens and closes properly. Once you open the damper, look up into the flue to ensure there’s no birds’ nests, branches, or leaves. You should be able to see daylight at the top of the chimney.
If you find anything inside the chimney, that’s a signal that someone needs to go on the roof and check the top opening of the chimney. The chimney cap may be missing or not secured.
Check the firebox (the walls around the actual fire) for cracks or missing mortar. If there’s any damage, have it repaired. And depending on how often you use your fireplace, it should be cleaned of creosote buildup every other year. A professional inspection may cost $75 to $500, depending on the services needed.
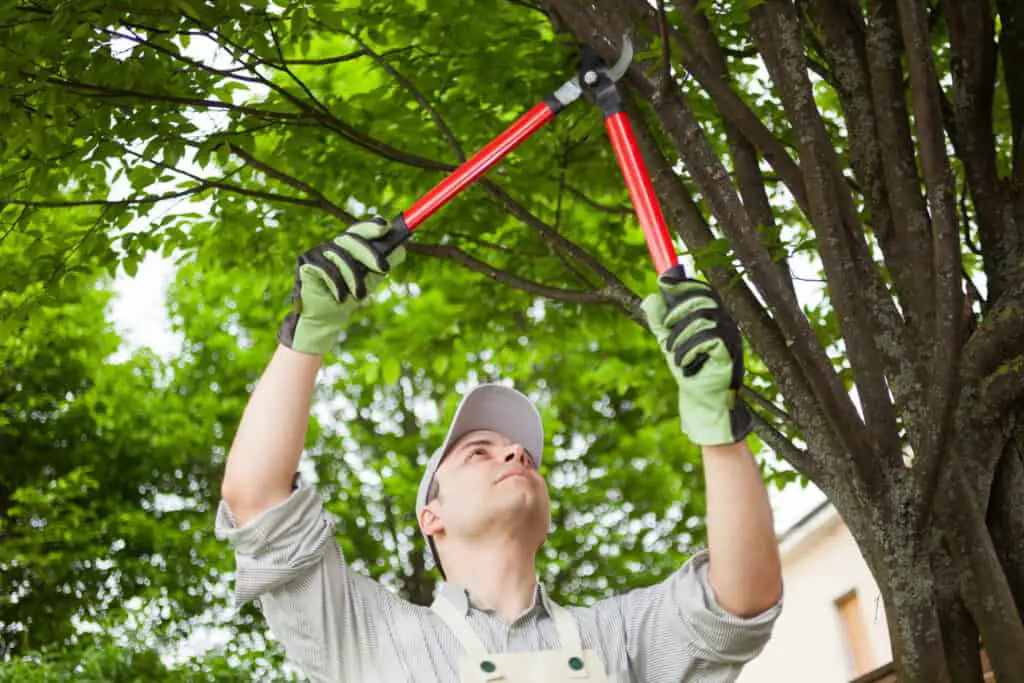
Take a walk around your property, looking for branches that could fall onto and damage your home or car.
If you live in an area that’s susceptible to heavy, wet snow, certain trees like flowering pear are especially vulnerable, due to their brittle wood and tendency to grow horizontal branches.
Also, check for any trees that reach close to the house where animals could access your roof or attic vents.
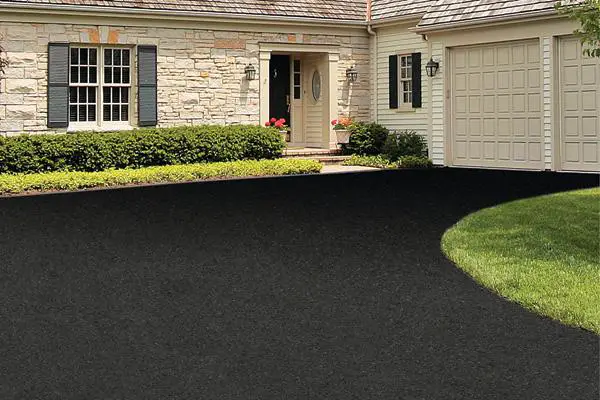
If your driveway shows cracks and wear, Fall is a perfect time to prepare it for winter.
Most driveways are covered with an asphalt (black) layer, and resurfacing it is simple. In fact, the hardest part might be just opening the 5-gallon bucket.
For an average driveway, two 5-gallon buckets of sealer and a squeegee on a pole is all you’ll need. Just be sure to get the driveway as clean as possible, sweeping or blowing all dirt and leaves away.
Then just tip the bucket, pouring some sealer onto the driveway and use your squeegee to spread it. The finished product will not only look much better, but it’ll be protected from damaging ice.
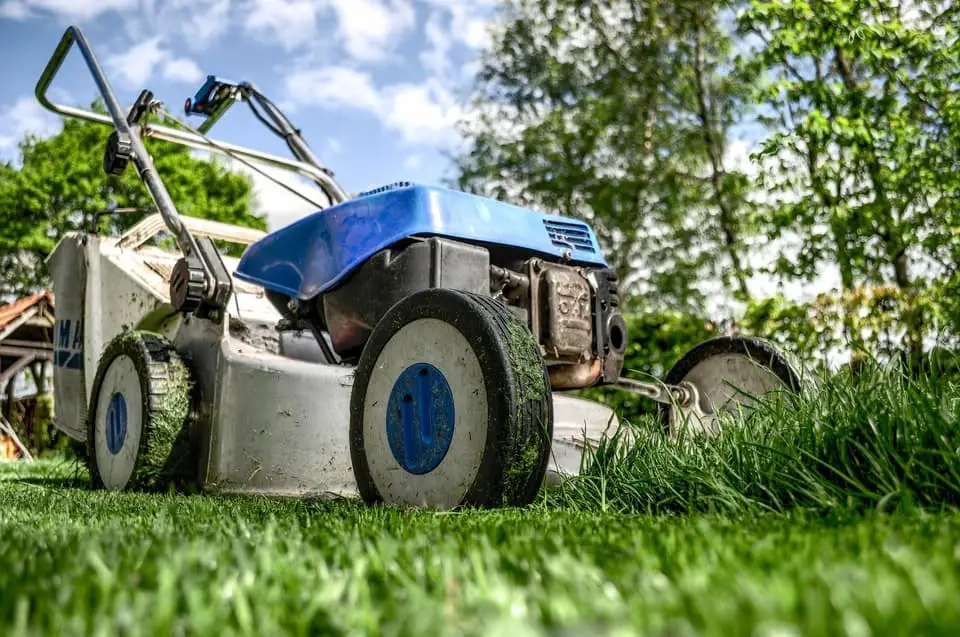
It’s easy to cut the grass for the last time of the season, then come in for a break, and leave the lawn mower untouched for five months.
But during that time, the gas deteriorates and can not only make it impossible to start in the Spring, it can damage internal engine parts.
One option is to buy gas stabilizer and pour it into the gas tank. Just check the directions on the container for the amount, and then run the engine for a minute to circulate it through the carburetor.
What’s worked better for me, is to just to empty the tank after the last use of the season.
Here’s how I do that:
Your home can be a great investment, but like any other investment, you need to keep an eye on it.
Granted, your list of things to do before winter might be long, but most of these checks take just minutes. And they can save thousands of dollars in repairs.
And these little things have a way of multiplying. Once you start to ignore a squeak here, a crack or a leak there – before you know it there’s a dozen repairs to be made. And if you consider selling your home, a good home inspector will spot every one of them.
While you’re preparing your home for winter, you’ll recognize what needs immediate attention, what you can do quickly, and where you’ll need to call an expert.
And won’t it be nice to kick up your feet on the coldest day of the year and worry about nothing more than what to make for lunch?
How about you? Do you have any winter home tips that aren’t included here? Let me know in the comments below!
